
Reviewed · PHOTOGRAPHY SESSIONS
Explore Budapest in Pictures: Guided Tour Photo Tour
Budapest can feel like a postcard city, but a photo tour helps you slow down and see the details you normally miss. This guided photo walk focuses on monuments, bridges, and panoramic viewpoints, with practical tips you can use right away.
I like that the tour promises a personalized approach in a small group, so you are not just following along. I also like that you get hands-on coaching on composition and light management, not vague inspiration. One thing to consider is that this is a meet-and-go experience, and if the guide does not show up as planned, you will be waiting outdoors, sometimes in cold weather.
Key Things to Know Before You Go
- Chain Bridge start gives you instant variety, architecture plus wide Danube views
- Small group coaching means you can ask questions and get adjustments for your level
- Buda Castle and Castle Quarter work well for both big shots and everyday details
- Matthias Church and Parliament add color, ornament, and dramatic angles
- Heroes’ Square is perfect for practicing symmetry and statue framing
- Additional guide photos get sent to you after the tour, which helps fill in gaps
Price and what you are really paying for
At $17 per person for 3 hours, this is priced more like a good local activity than a premium workshop. You are not paying for museum entrances or a private driver, you are paying for guidance, positioning, and photo feedback as you move between key spots.
The best value here is the coaching style described in the tour info: tips tailored to your level, plus extra recommended material after. That is the kind of value that lasts beyond the walk, because you can reuse the framing and light ideas for photos on your own.
The main value risk is not the price, it is the reliability of the meet-up. The experience includes practical photo instruction, but the booking records I saw included cases of the guide not arriving. If you hate uncertainty, build in a little patience, and confirm details the day of.
More photo sessions in Budapest:
- Private photography photo session at Fisherman Bastion
★ 5.0 · 269 reviews - Budapest photoshoot&sightseeing
★ 5.0 · 107 reviews - Budapest: Walking Tour and Photoshoot with Digital Photos
★ 4.7 · 82 reviews
Finding your guide at the meeting point (umbrella method)
The meeting point is simple: you will recognize the guide because they will be wearing an umbrella. You should also plan to arrive a few minutes early, because this tour depends on starting on time at the Chain Bridge area.
The guide language is Spanish, so if you only speak English, you might still be able to follow, but you will get the clearest experience if you can understand at least basic directions. The tour info also notes you can bring cameras and cell phones, which is helpful if you do not want to carry a lot of gear.
One more practical note: the tour is walking-based across photo stops, so it is not a sit-and-shoot experience. You will do better if you treat it like a short city hike with photo stops, not a bus tour.
Chain Bridge: using architecture and the Danube as your training ground
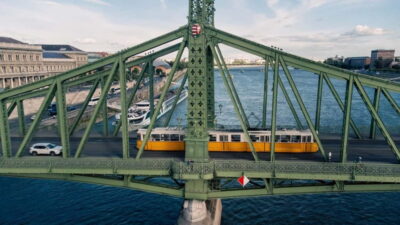
Your tour begins at the Chain Bridge, which is a smart choice because it gives you multiple photo problems in one view. You can practice lining up the bridge towers, controlling perspective, and composing with the Danube River as a strong leading line.
This is where light matters most, especially if you are trying to capture that elegant structure without the river turning into a blurry mess. Even at the beginner level, the coaching angle is useful here because you can instantly see results by changing framing and timing.
If you want a practical plan for your own photos, focus on two shots early. First, a wide shot that shows the bridge and both sides of the Danube. Second, a tighter composition that crops out distractions and makes the bridge details the star.
Buda Castle: framing cobblestone streets and city panoramas
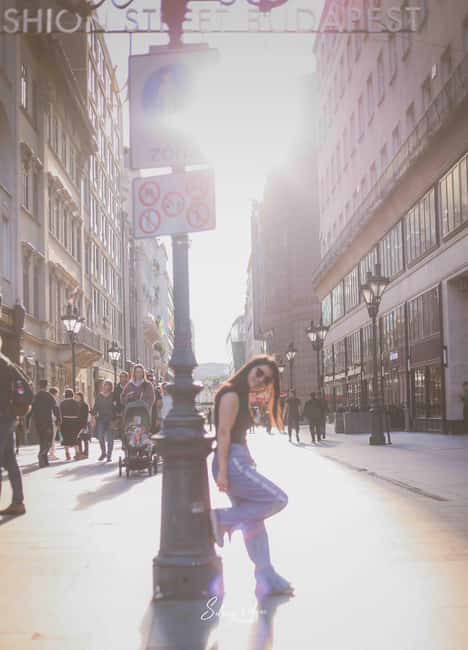
Next you head to the Buda Castle, where you get two different types of photography practice: city views and textured streets. Cobblestones naturally add visual rhythm, especially when light grazes the ground at an angle.
From here, you will also learn to capture panoramas stretching out across the city. The coaching emphasis on play with light and framing makes sense in this area, because the viewpoints are dramatic and easy to overdo. You can quickly end up with either too much brightness or a horizon line that feels crooked.
A useful approach is to pick one “main” view for the panorama and then vary your framing around it. Try shifting a few steps left or right, rather than constantly changing your settings. Small position changes often improve composition faster than technical fiddering.
Entrance fees are not included for places that require tickets, so keep expectations realistic. You can enjoy the view-focused photography from outside, and if you decide to go in for any interior shots, budget that separately.
A few more Budapest tours worth comparing
- Budapest: Parliament Building Entry Ticket and Audio Guide
★ 4.5 · 3,844 reviews - Budapest: Opera House Guided Tour
★ 4.6 · 1,533 reviews - Budapest Small-Group Guided Tour on MonsteRoller e-Scooter
★ 5.0 · 1,517 reviews - Budapest: Bar Crawl with a Local Guide
★ 4.9 · 1,112 reviews
Castle Quarter alleys: turning monuments into small, everyday photos
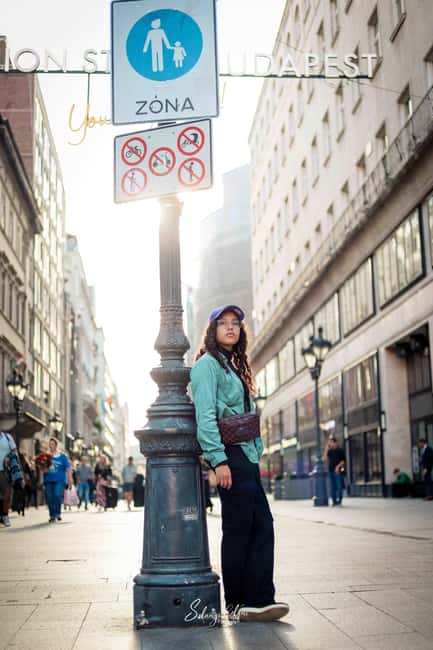
The Castle Quarter section is where the tour becomes more than just monument collecting. The info specifically points out architectural details, from ancient gates to colorful facades, and that is exactly where you can improve as a photographer.
Here is the trick: monuments are easy because they are big. Details are harder because they require patience and a cleaner eye. This part of the tour is your chance to practice making a strong photo from small stuff, like patterns in doors, textures on stone, and color contrasts on historic walls.
This is also where the tour framing advice helps if you want shots that feel alive. Instead of treating every frame like a postcard, you can aim for compositions that include everyday atmosphere, then tighten your crop to reduce clutter.
Since the group is small, you should also take advantage of the guide’s ability to adjust to your level. If you struggle with where to stand, ask. If your photos look washed out, ask. The tour is designed for learning, not just walking.
Matthias Church: colored tiles, medieval shapes, and smart expectations
At Matias Church, you are dealing with rich visual texture, including the brightly tiled ceiling highlighted by the tour description. That kind of color is great for photos because it gives your camera something specific to focus on.
The tour info also notes medieval history, but the real value for you is visual. You can practice photographing ornate surfaces without blowing out the highlights, especially when sunlight hits the details.
One key expectation: entrance fees to interiors are not included. So if you want interior ceiling shots, you may need to pay separately. If you stay outside for exterior angles and nearby compositions, you can still get a lot of impact without committing to additional ticket costs.
If it is sunny, try one photo where the church is centered and symmetrical, and one photo where you use an angle that shows depth. That simple pairing often makes your album feel more intentional.
Parliament of Budapest: day shots, and dusk if conditions allow
Then it is on to the Parliament of Budapest, described as one of Europe’s iconic buildings and a target for photos both by day and, conditions permitting, at dusk. That wording matters, because it tells you the timing might shift based on light and weather.
Daylight often gives you crisp lines and readable architectural details. Dusk can soften the scene, improve color balance, and make Gothic details feel more dramatic, but only if visibility and timing line up.
Because the tour includes advice on managing light, this stop is where you benefit most if you know how to adjust for changing brightness. If you keep getting overexposed highlights on pale stone, dial back your exposure and rely on framing to keep the building dominant.
For your own photos, pick one composition that shows the full scale and one that focuses on a section of the facade. Parliament is too big to photograph in one style, and splitting it into two approaches will help.
Heroes’ Square: practicing symmetry with statues and monuments
The tour ends at Heroes’ Square, a fitting finale because it is designed for strong wide compositions. Statues and monuments in this space are basically built for symmetry practice, with clear lines that reward careful positioning.
The info frames this as a place where you can experience majesty while perfecting technique. That is photographer talk for two things: horizon control and consistent framing. If your photos keep feeling slightly off, this is the spot where you can fix it by using reference points in the scene.
Try a wide shot that captures the full grouping, then get a second angle that crops tighter for a more graphic look. If there are visitors around, adjust your crop rather than fighting them. Clean composition beats constant frustration.
What you learn on the walk (beyond just where to stand)
The tour is built around practical instruction, not abstract inspiration. You receive photographic advice and tips tailored to your level, plus additional material with recommendations after the tour.
The stated learning points are clear: composition, light management, framing, and capturing both grandeur and small everyday moments. In practice, that means you learn how to “see” the scene differently before pressing the shutter.
Personalized attention and a small group setting matter here. If you are a beginner, you might need basic help understanding what changes your camera actually makes. If you are more advanced, you can focus on refining framing and exposure choices at each stop.
You also get additional photos taken by the guide, which will be mailed to you. Even if you end up with your own best shots, having an extra set can help you compare composition choices and learn what worked from a different viewpoint.
Equipment, walking comfort, and what to bring
You can bring cameras and cell phones, and the tour supports all levels, so do not feel pressured to carry a complex setup. If you do not have a camera, note that photographic equipment rental is not included, but the provider can recommend rental stores.
Bring comfortable shoes. This kind of city route demands foot comfort more than fancy gear. A daypack is a good idea for keeping your water, phone charger, and small essentials together without juggling.
The tour info is also specific about personal items:
- Food and drinks
- Cash
- Charged smartphone
- Garbage bag
That garbage bag tip might seem odd, but it is practical for longer outdoor pauses and keeping your area tidy. It also signals that you should expect to be outside enough that your own comfort matters.
If you bring a camera, use it early. If you only start shooting after the first stops, you lose the chance to learn from immediate feedback.
Group size, transport between stops, and the overall pace
This is described as a small group tour with individualized attention. That matters because your learning improves when the guide can actually see what you are doing, not when you are just part of a crowd.
Local transportation is included if necessary between some remote points. That is helpful because it keeps the walking realistic for a 3-hour format. Still, do assume you will walk between multiple iconic viewpoints.
One gentle reality check: the itinerary is timed around photo opportunities. That means you may not get long, free wandering time at each stop. The tradeoff is that you get more structured learning in less time.
If you prefer totally unstructured strolling, this might feel a little guided. If you want a shortcut to better photos, it can be a solid fit.
Who should book this photo tour, and who should skip it
This tour is marketed for photographers of all levels, and the coaching is positioned as personalized. If you want to improve quickly, enjoy architecture, and like learning while walking, you will probably enjoy it.
However, the tour info says it is not suitable for:
- People with mobility impairments
- People with a cold
- Visually impaired people
- Hearing-impaired people
At the same time, it also lists wheelchair accessible. That contradiction is important. If you have mobility needs, you should contact the provider before booking to confirm what “wheelchair accessible” means in the context of the route and timing.
Also, if you are sick, the tour info suggests skipping. I would treat that seriously because cold weather plus walking can make things worse fast.
Should you book Explore Budapest in Pictures?
If you want a structured, photo-focused route through Budapest’s top sights, this is easy to like. The price is low, the instruction themes are practical, and the stops are chosen for learning: Chain Bridge, Buda Castle, Castle Quarter, Matias Church, Parliament, and Heroes’ Square all train different photography skills.
I would book with two conditions. First, be ready to walk and take photos at an outdoor pace for 3 hours with a Spanish guide. Second, take meet-up reliability seriously. The record of at least one no-show case means you should confirm the day of and give yourself a little cushion so you do not end up standing around in bad weather.
FAQ
How long is the Budapest photo tour?
It lasts 3 hours.
What is the price per person?
The price is $17 per person.
What is the meeting point and how do I identify the guide?
The guide will be recognized because they will be wearing an umbrella.
What language is the live guide?
The live tour guide language is Spanish.
What is included in the tour price?
Included are a professional photo tour guide, a personalized route through key places, tailored photography advice, small groups, additional photos taken by the guide (mailed to you), extra recommended material, and local transportation if necessary between some points.
What is not included?
Meals and drinks, entrance fees to museums or monument interiors (if any), and photographic equipment rental are not included.
Can I cancel or pay later?
The tour offers free cancellation up to 24 hours in advance for a full refund, and it also offers reserve now & pay later.
Recently reviewed around Budapest
- Panoramic hike around Budapest★ 5.0 · 14 reviews
- PRIVATE (7 hours) Budapest and Szentendre city tour with lunch and winetasting★ 5.0 · 4 reviews
- Original Budapest Walking Tour★ 4.0 · 39 reviews
- Budapest Highlights Self guided scavenger hunt and Walking Tour★ 5.0 · 5 reviews
- Hungarian Gastro Cellar: Assisted Tasting Options★ 4.5 · 5 reviews
- Original Budapest Alternative Street Art & Jewish Tour★ 4.5 · 14 reviews
- Bratislava, one day private trip from Budapest with guide!★ 5.0 · 4 reviews
- One hour Hen or Stag private party boat Budapest with unlimited beer and wine★ 3.5 · 6 reviews
Photography Sessions, compared.
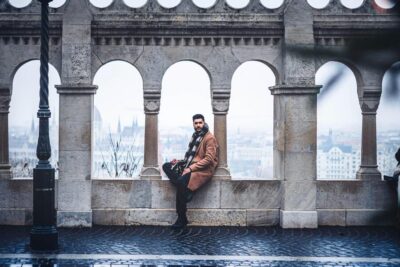
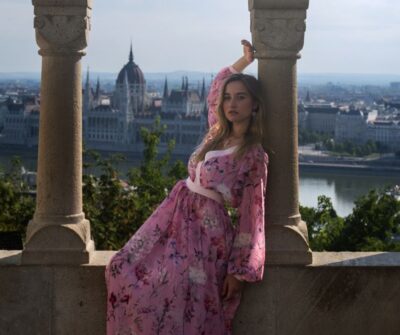
Private photography photo session at Fisherman Bastion
Read our review →
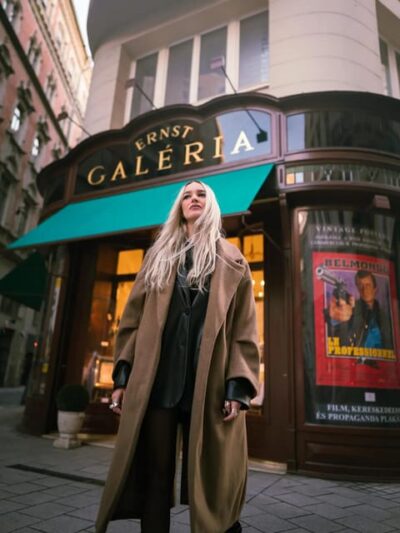
Street photos through the most beautiful streets of Budapest
Read our review →
Street photography with your smartphone, tour of Budapest
Read our review →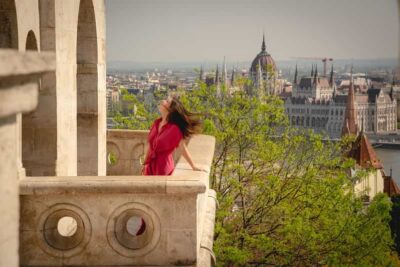
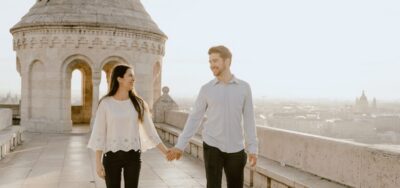
romantic photoshoot at Buda’s iconic sightseeings
Read our review →Browse the lists this tour appears in